HOME  »  teardrop »  Viewing hardboard4     [Image 32 of 86]  :: Jump To  
Comment: 
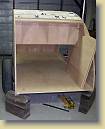
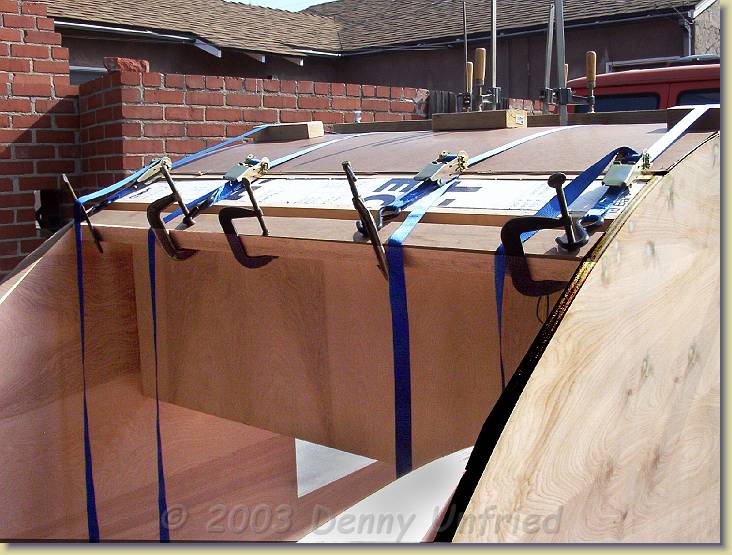
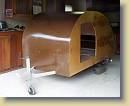
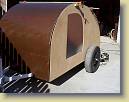
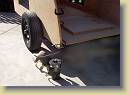
November 5th 2003 - The hinge rib is 2 X 3 oak with four 2-1/2" screws on each side. Rumor is this rib was the weakest part of the original Kit trailer but on this tear it should be one of the strongest.
November 3rd 2003 - Just another view getting ready to install 1/8 top Masonite.

November 2nd 2003 - I was able to put in three layers of half inch polystyrene insulation which bends easily.
Addendum: After camping in 100 plus degree heat there was no heat buildup on the headliner.  Don't omit the insulation which is only a few bucks per 4 X 8 sheet.

November 5th 2003 - These inexpensive straps were a great help since I did the complete build with no help. Hardboard is 1/8 tempered Masonite and follows the conture easily.  The lines are just a reference to the center line of the ribs for driving brads.

November 5th 2003 - The 2 X 3 oak hinge rib gives a sturdy place for attaching temporary clamps and will provide a strong member to attach the galley hinge later on.

November 5th 2003 - Holding hard board in place while glueing.  Also used lots of 3/4 brads then filled the holes. Chalk lines were snapped over ribs as a guide for shooting brads.  Reminder - don't shoot brads into your electrical wires.

Next slide
 
November 5th 2003 - Using straps to hold down hard board until adhesive cures. Of course another short piece will be added but the seam will be invisible once it is covered with the aluminum.

November 5th 2003 - Just resting and doing some daydreaming of adventures to come. Long way to go yet.
Rule #1: Have all your hardware on hand to avoid any unpleasant surprises. I learned my lesson with the galley hurricane hinge when the manufacturer changed the design to zero offset.

November 14th 2003 - Three more coats of spar varnish outside which should seal out moisture.

November 5th 2003 - The wall skins were roughed out and sandwiched between finished wall & Masonite.  Of course I could only route a short distance and then would have to re-arange the clamps.  Both aluminum sides were in the sandwich so were cut at the same time.

November 14th 2003 - Both pieces of rough cut aluminum are sandwiched between finished side and the Masonite template.  Then the router with flush cutting carbide cutter was used to finish cut the aluminum.  I used a variable voltage supply to the router and cut it to 40 volts to slow the cutter.  Any faster and the tool would overheat and melt/ball up the aluminum.

  Previous slide      Index Page Start/Stop the slide show      Next slide  
Album last updated on Jul 28, 2008 - 12:44 PM
© 2000 - 2020 Dennis Unfried
Any questions or suggestions: E-mail